To Create a New Catalog
-
Click the
New
 icon from the ribbon.
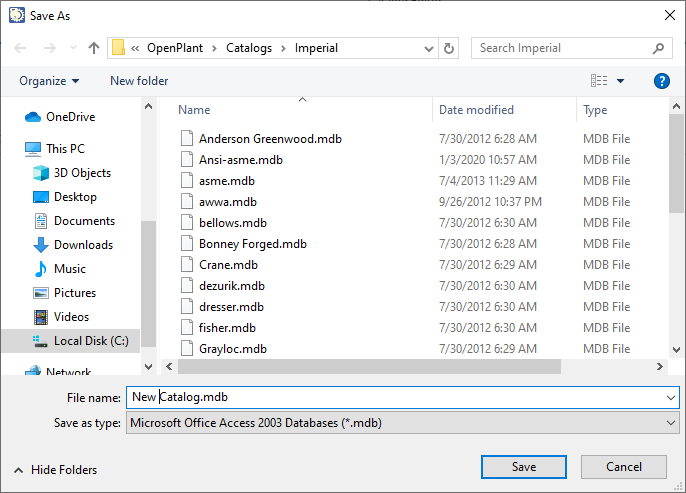
A standard Windows
Save As displays prompting you to define a
directory in which to store the catalog.
icon from the ribbon.
A standard Windows
Save As displays prompting you to define a
directory in which to store the catalog.
-
Navigate to the desired directory, type in the name of the new
catalog then press
Save.
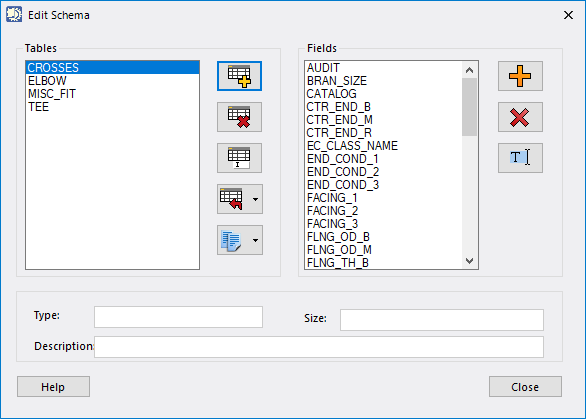
Note: The initial default path that the Catalog Editor uses is your ...Configuration\Workspaces\WorkSpace\Standards\OpenPlant\Catalogs\Imperial\ directory. If you open a catalog from another directory, then that path will become the default the next time you attempt to create a catalog in that project. If you open a new project, the Catalog Editor will refer back to the default directory.The Edit Schema dialog displays. At this point the catalog does not contain any component tables. You will use the Edit Schema dialog to add tables to the catalog.
-
Click the
Import Data
 icon and select
Import from Catalog option from the list.
icon and select
Import from Catalog option from the list.
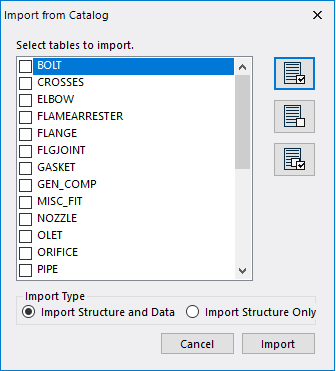
- You will be prompted to select an existing catalog to import tables from. Select a catalog to use and click Open.
- Select which tables to import from the list.
- (Optional) Import Type : By default, the Import Structure and Data option is enabled as the Import Type . However, if you only want to import the table structure and not include the data, select the Import Structure Only option.
- Once the tables have been selected, click the Import button. The tables are imported to the catalog and are included in the Tables list in the Edit Schema dialog.
-
Use the options in the Fields section to
Add
 ,
Remove
,
Remove
 , or
Edit
, or
Edit
 the fields for the tables, or
click
Close to include all of the existing data.
(The Fields list displays the current fields included in the selected table.)
the fields for the tables, or
click
Close to include all of the existing data.
(The Fields list displays the current fields included in the selected table.)
The new catalog will be loaded into the Catalog Editor for viewing/editing.